
Renovation-focused scope support
Before and After / Project Photos
Project photos should show condition, prep, progress, and finish details without overclaiming what a visitor is seeing. This gallery uses renovation photos to explain room condition, visible work stages, and closeout details so homeowners, landlords, and property managers can compare their own scope more clearly.
Quote-ready from the first message
Send the details that make renovation pricing clearer.
A better request helps separate must-fix work from optional upgrades before anyone guesses at a number. Start with photos, property type, location, timing, and the rooms you want changed.
First, show the full room, then add close-ups of drywall, trim, cabinets, flooring, tile, doors, or damage.
Next, include the neighborhood, property type, parking or access limits, known building rules, and ideal timing.
Then, separate must-fix items from nice-to-have upgrades so partial and complete renovation options stay clear.
Owner-provided renovation photo library
Photos should prove scope, not just decorate the page.
The strongest renovation gallery shows what changed, what stage the work was in, and which visible details matter before a homeowner, landlord, or property manager requests a quote.
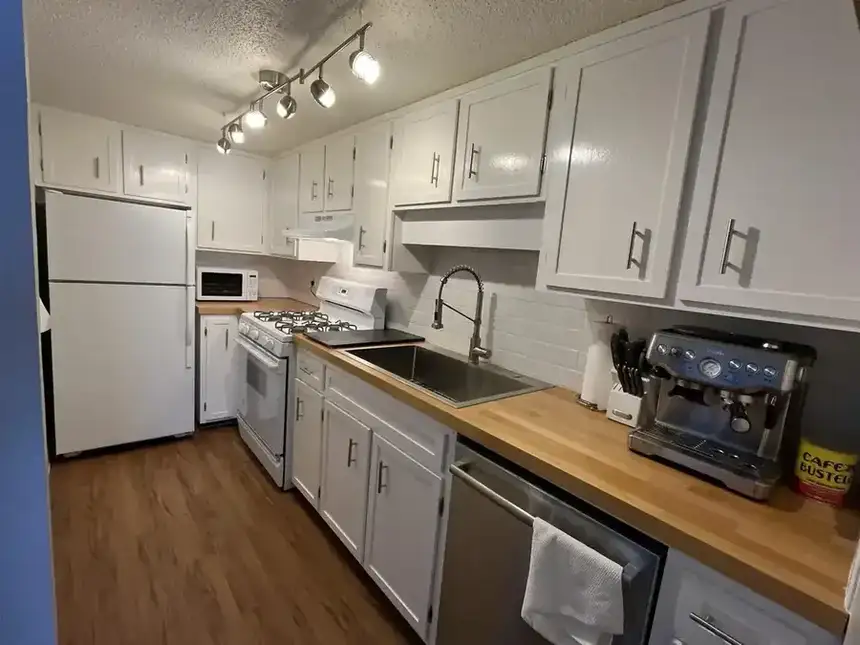
Finished photos show the final visual standard.
Use these photos to compare surface finish, cabinet details, lighting, wall color, trim alignment, and cleanup expectations.
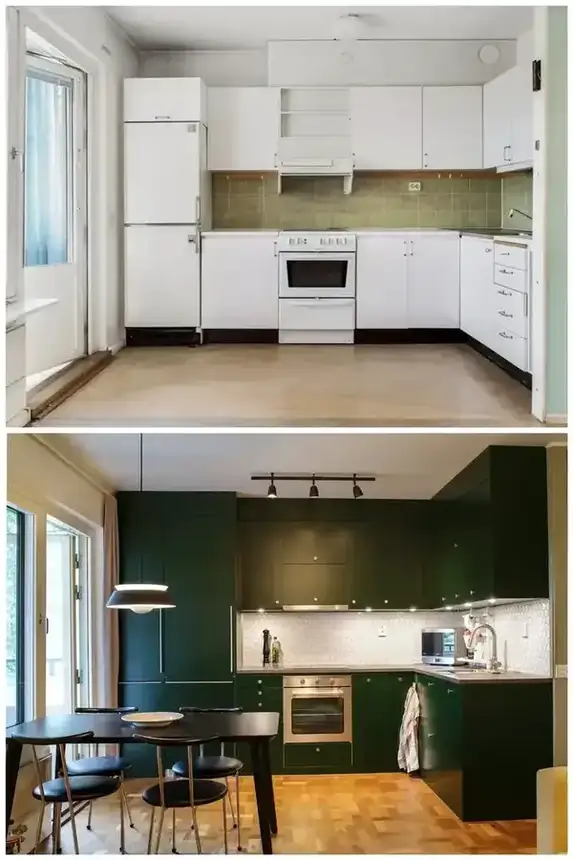
Comparison photos explain how much scope changed.
Matched or near-matched angles help visitors understand whether a similar room may need a partial update or a complete renovation.
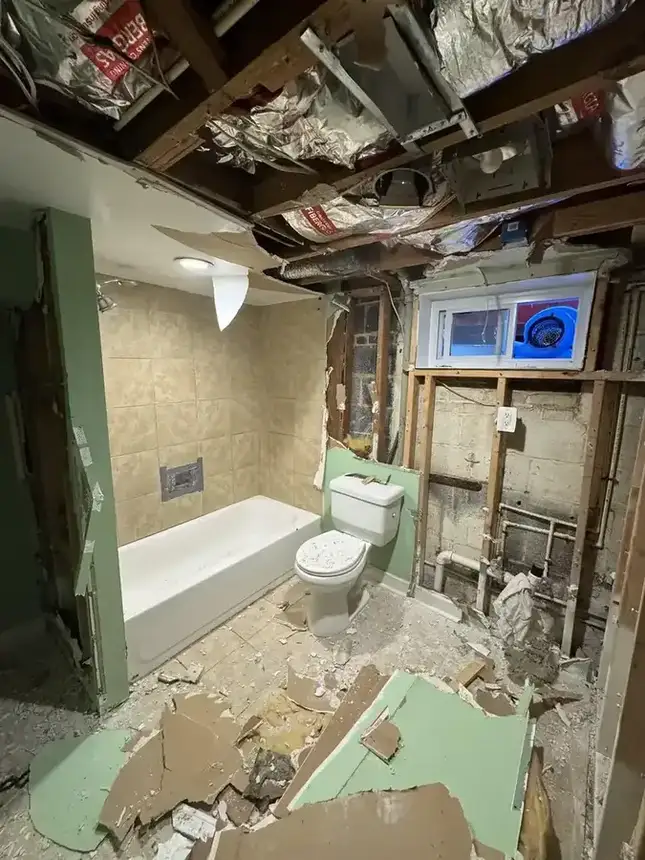
Progress photos make the hidden sequence visible.
Open-wall, framing, drywall, tile, and prep photos show why finish work depends on the condition underneath.
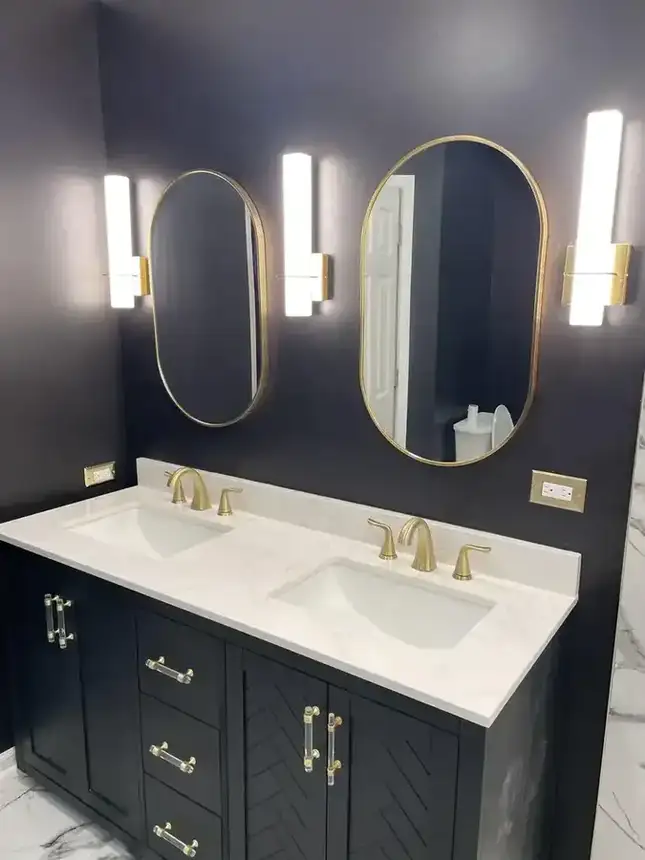
Detail photos support punch-list quality.
Cabinets, vanity walls, trim edges, transitions, and final adjustments are the details that make a room feel complete.
Project photo library
These photos are organized as renovation evidence: finished rooms, before-and-after comparisons, and progress shots that explain scope without making unsupported claims. Do not invent completed projects, neighborhoods, client names, timelines, or results that are not confirmed.
01 / Finished Kitchen
Clean white kitchen refresh
Finished kitchen refresh with clean cabinet, counter, floor, and appliance presentation.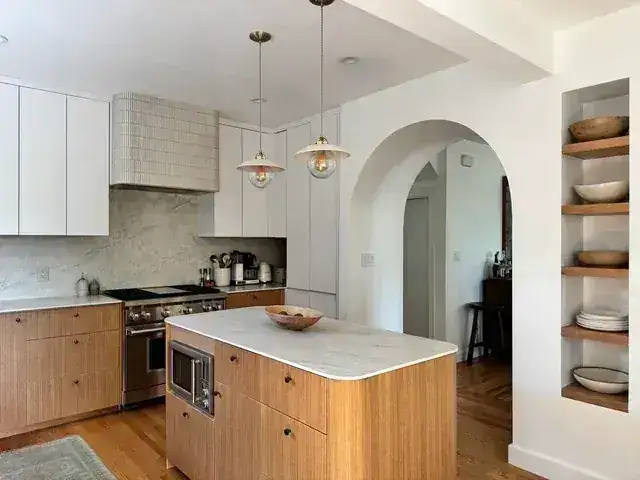
02 / Finished Kitchen
Warm finished kitchen
Finished kitchen example for layout, cabinet, trim, and closeout inspiration.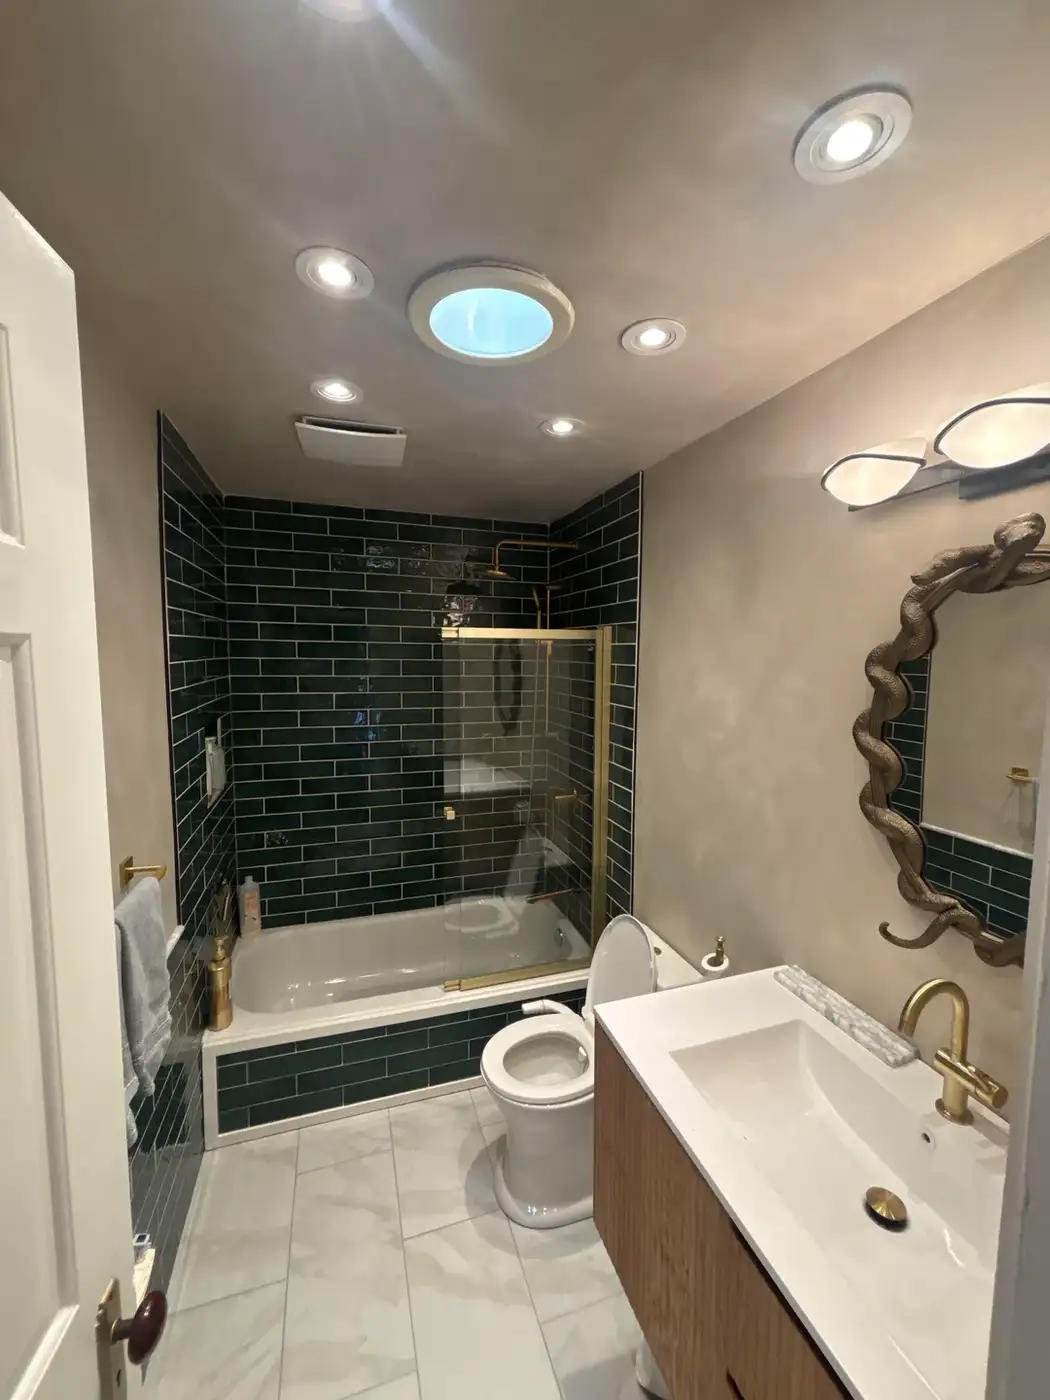
03 / Finished Bathroom
Dark tile bathroom finish
Finished bathroom example showing shower tile, vanity placement, lighting, and closeout presentation.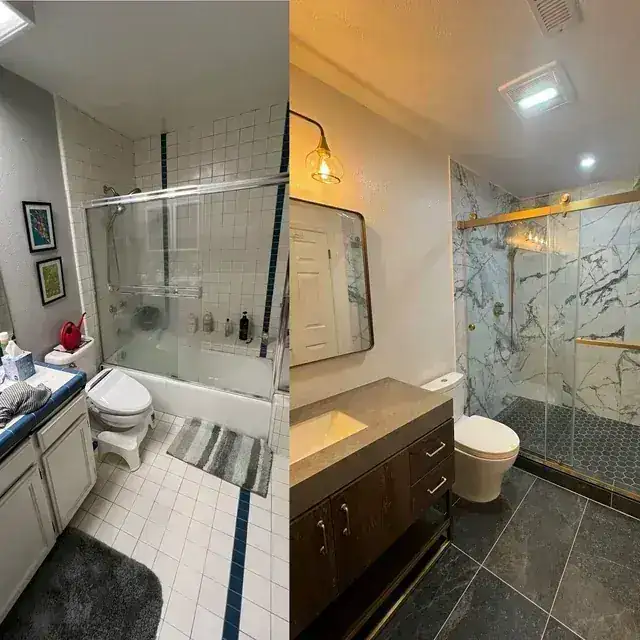
04 / Finished Bathroom
Glass shower bathroom finish
Finished bathroom photo showing vanity, glass shower, lighting, and closeout details.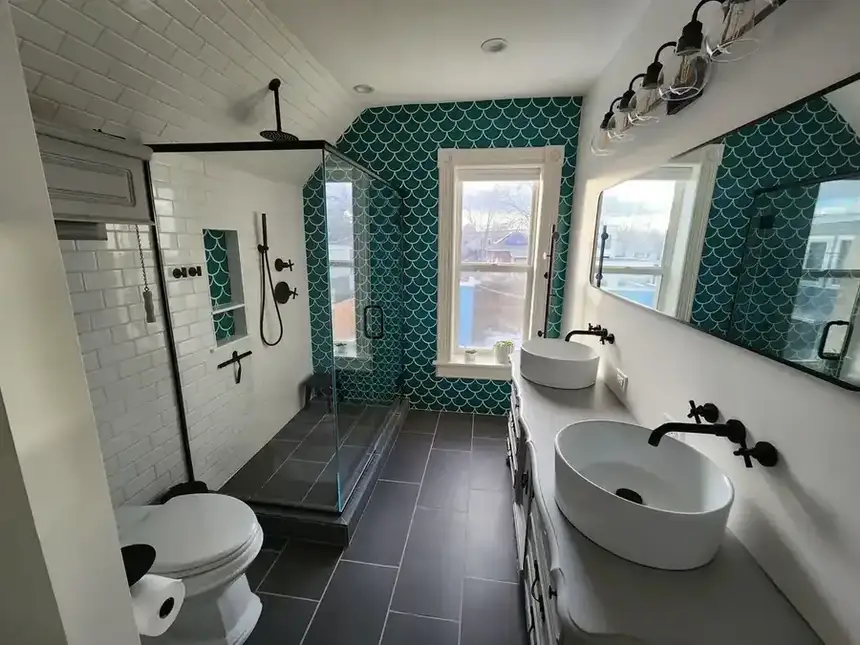
05 / Finished Bathroom
Double vanity bathroom
Finished bathroom example with tile, fixtures, vanity, and mirror coordination.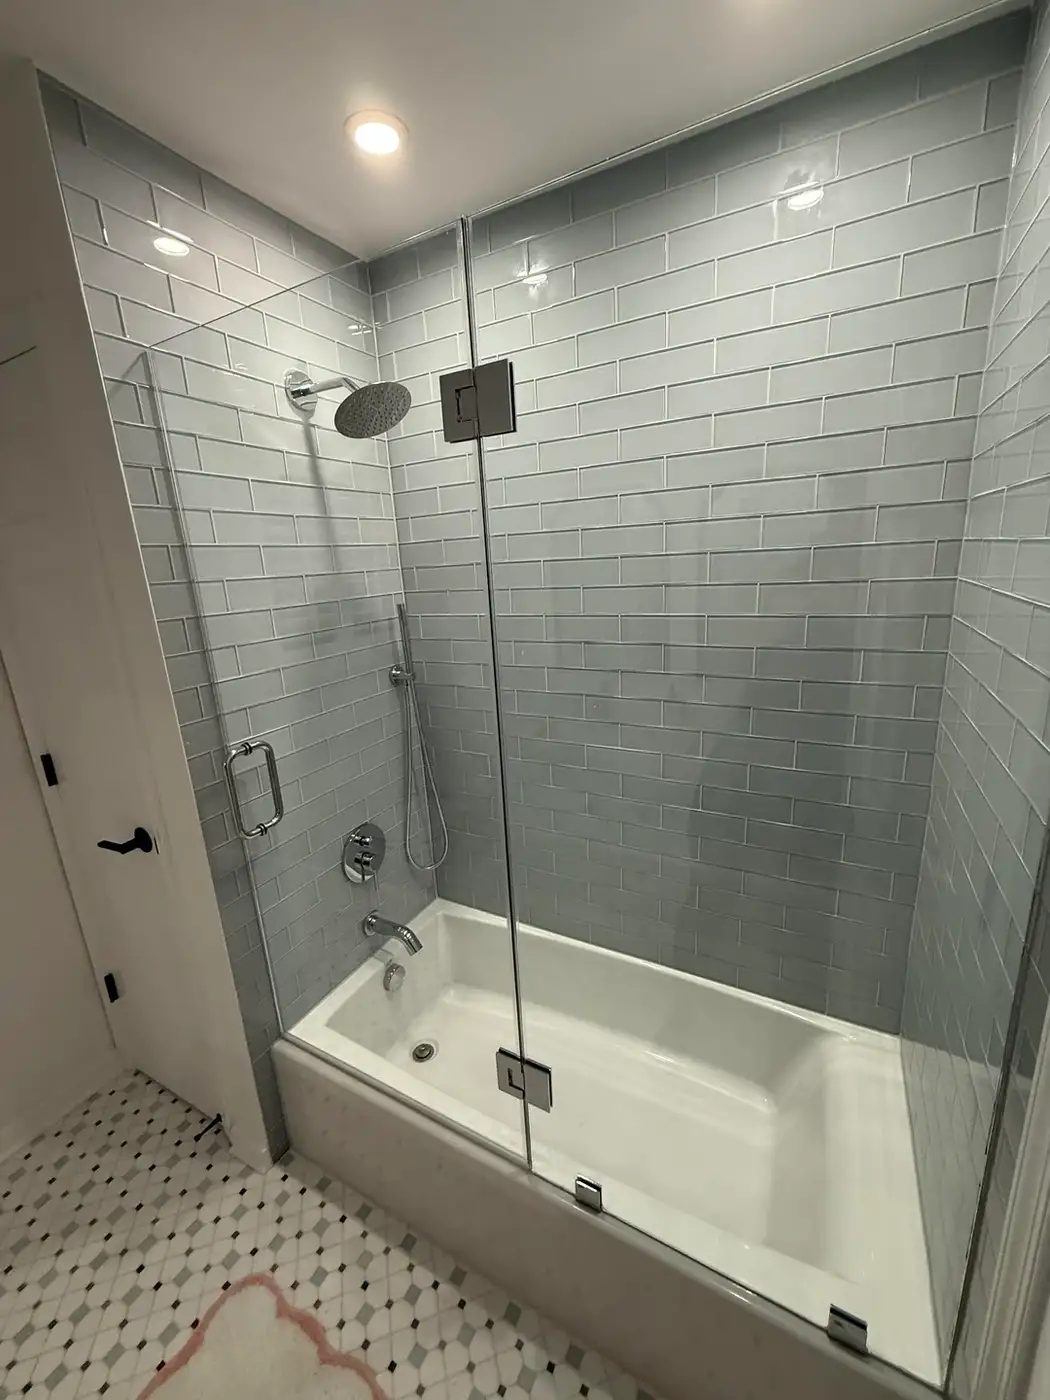
06 / Finished Bathroom
Gray tile shower finish
Finished bathroom photo showing gray tile, glass enclosure, lighting, and bath closeout details.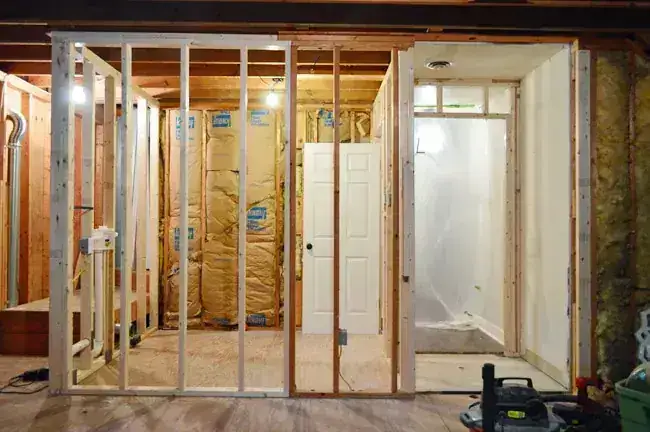
07 / Progress Interior
Interior framing progress
Framing progress photo useful for explaining room sequencing and finish planning.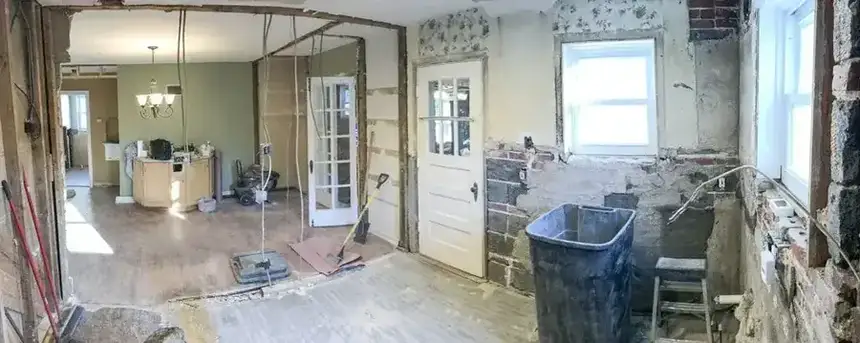
08 / Progress Drywall
Drywall and finish prep
Drywall and finish-prep photo showing why progress documentation matters.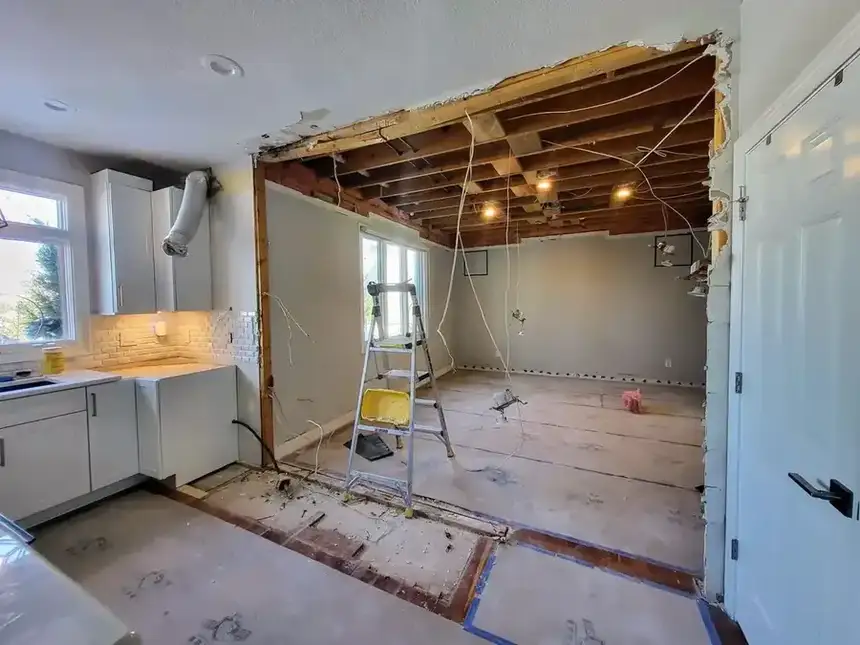
09 / Progress Kitchen
Kitchen demo progress
Kitchen progress photo showing visible prep before finish installation.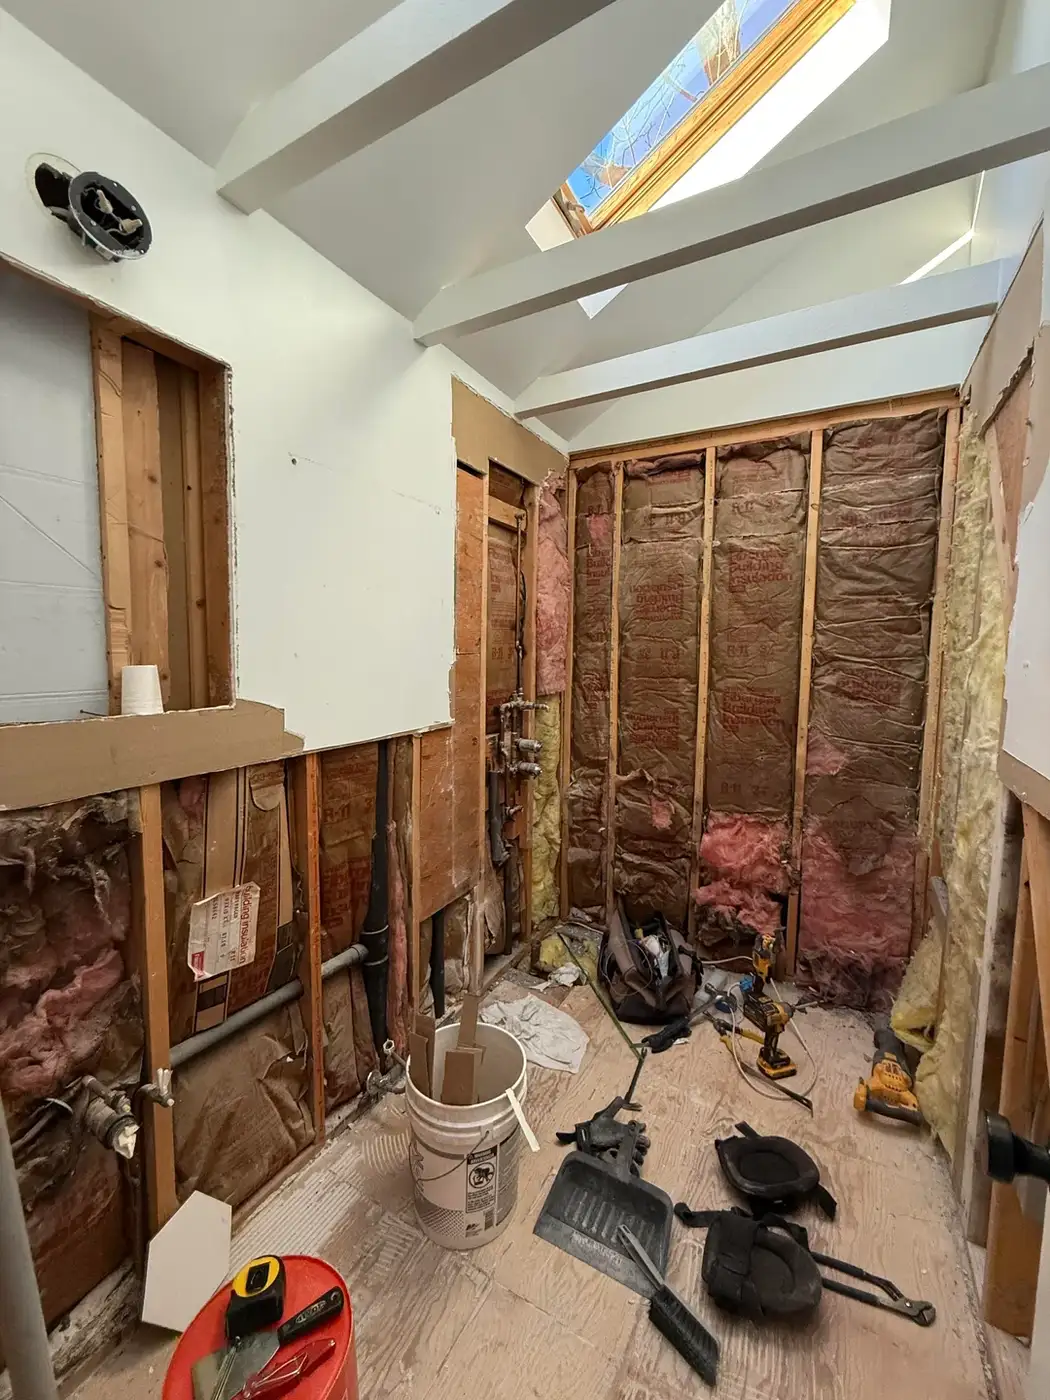
10 / Progress Bathroom
Bathroom open-wall demo stage
Progress photo showing wall access, protection, and visible bathroom prep before finish closeout.11 / Before / After Kitchen
Apartment kitchen before and after
Before-and-after kitchen comparison for visitors weighing partial versus complete scope.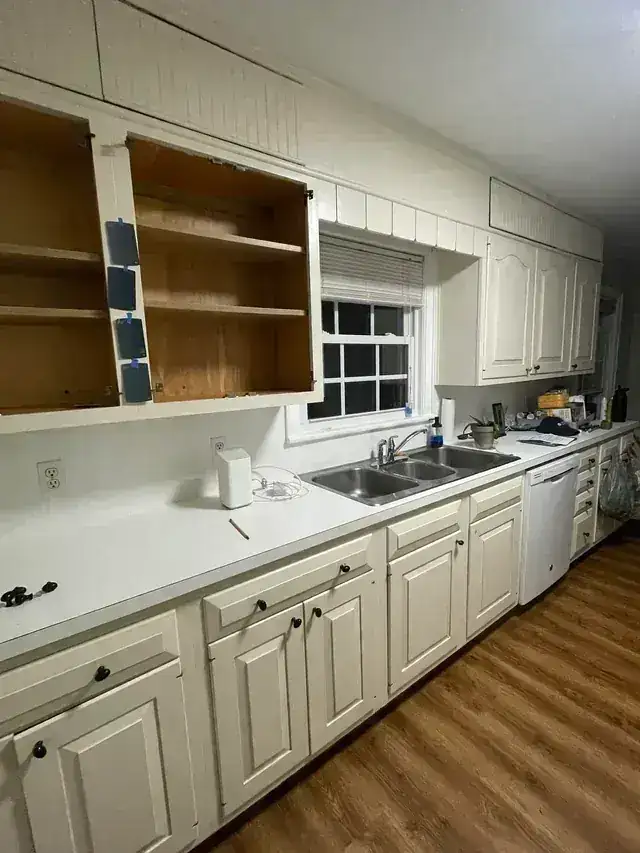
12 / Finished Cabinets
White cabinet refresh
Cabinet refresh example for partial kitchen updates and finish repairs.Scope notes
- before photos from the same angle as finished photos
- progress photos showing prep and repair work
- finish photos with clean room context
- closeout details for trim, doors, walls, and transitions
- room-by-room notes that explain the scope
- captioned scope without exaggerated claims
Process
Send photos and scope
First, share the property type, room photos, damage close-ups, location, timing, access notes, and must-fix items.
Confirm priorities
Next, separate required work from nice-to-have upgrades so the quote reflects the real goal.
Plan the sequence
Then, order repairs, prep, paint, trim, doors, cabinets, flooring, and cleanup so finish work is protected.
Close out the punch list
Finally, handle visible touch-ups, adjustments, cleanup, and final notes before the job is considered done.
Need a realistic quote path?
Use the quote form to send photos and priorities for renovation-first work in Queens, Nassau County, nearby Long Island, and nearby NYC neighborhoods.
Common questions
What should I send for a renovation quote?
Send wide photos of each room, close-ups of damaged areas, measurements if you have them, the property type, the neighborhood, access notes, and your ideal timing.
Do you handle complete and partial renovations?
Yes. The scope can be a full interior renovation, a focused room update, an apartment turnover, or a punch list of finish repairs.
What areas do you serve?
JD Renovation Pros focuses on Queens, Nassau County, nearby Long Island communities, and nearby NYC neighborhoods.
Can you quote from photos?
Photos are a strong starting point. Some projects still need an in-person review before final pricing, especially when hidden conditions or building access affect the scope.
Need a concrete next step? Send scope notes and photos.